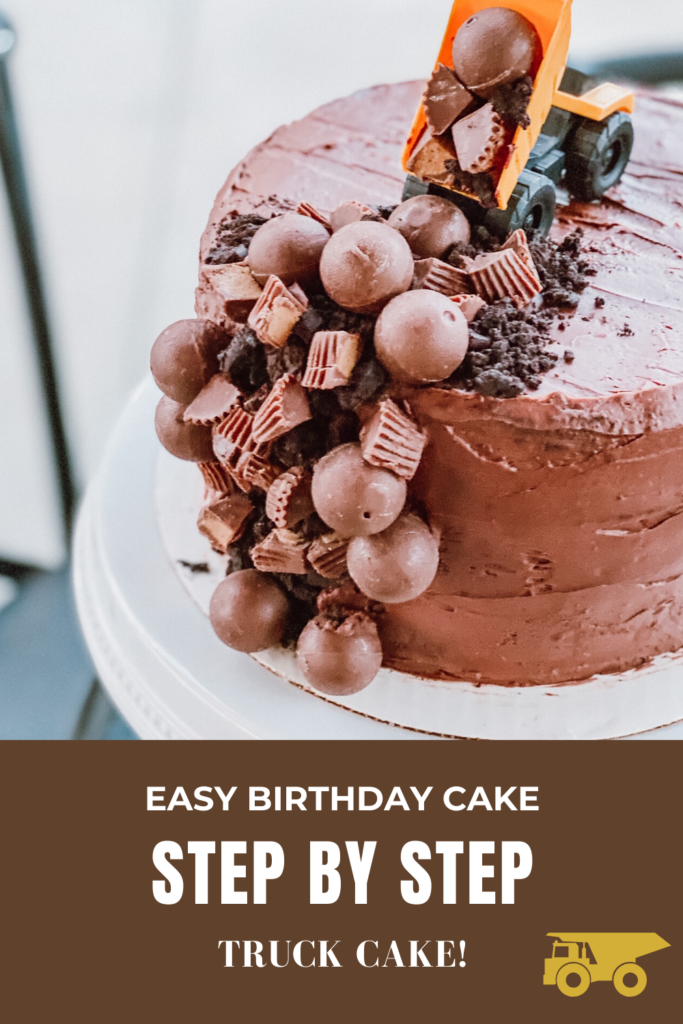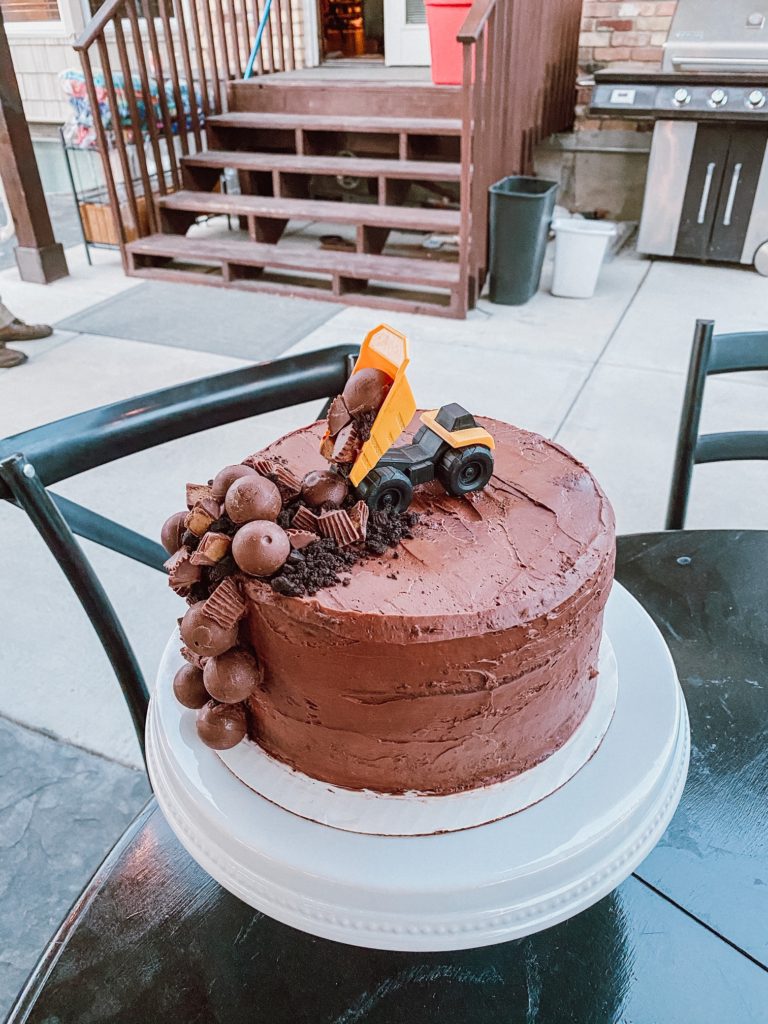
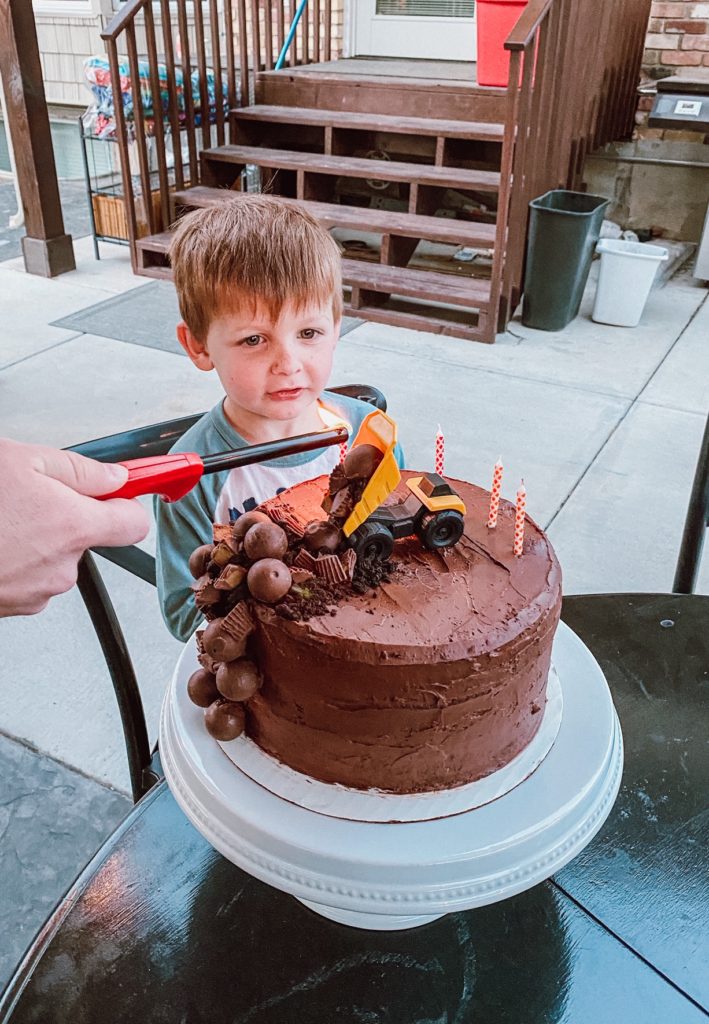
My first baby is F O U R! How?! I don’t know but it is happened! We had the BEST day celebrating him. He is at such a fun age and was beyond excited to have a day dedicated to him! He loved all the attention. He also loved his cake which made my mama heart swell. I am not a cake pro at all- so I I can make this simple birthday cake- so can you! Trust me! I think making birthday cakes as a mom is the best- especially when it is an easy birthday cake- win win!
Beck has always loved all things trucks so I wanted to make something that he would love. You might be thinking- how do you make dump truck cakes? Well here we go! I got you!
So let me share what supplies you will need! Supplies make the difference- trust me. Like I said I am not a cake pro. Here are some of the must haves that can take your cake to the next level!
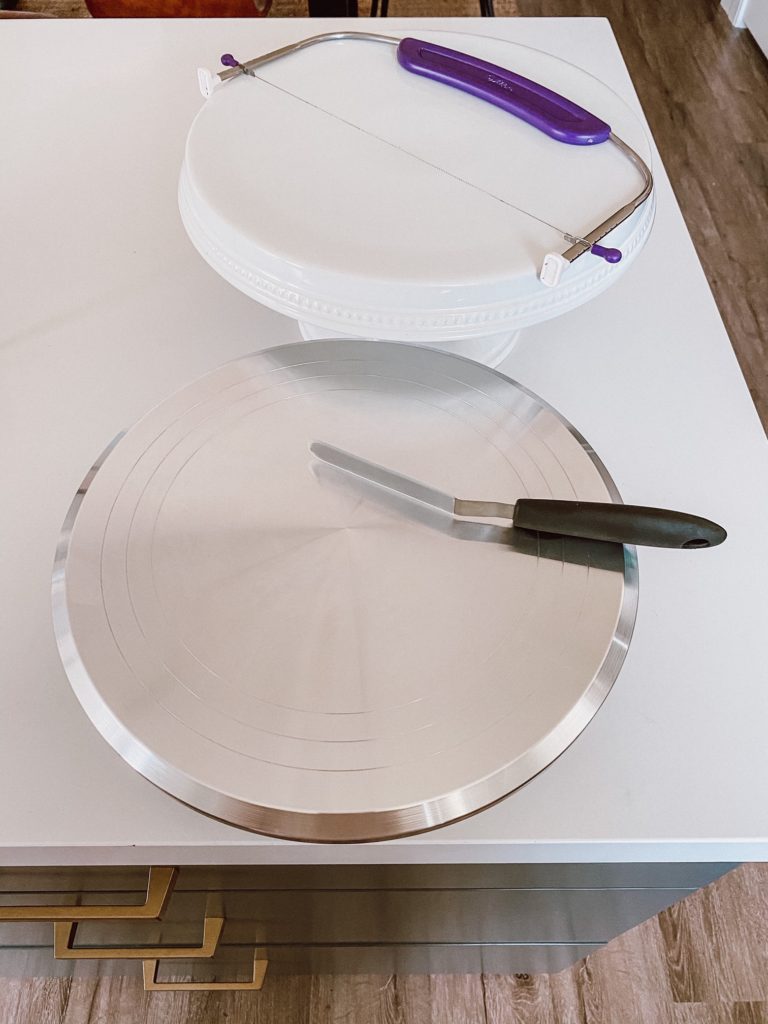
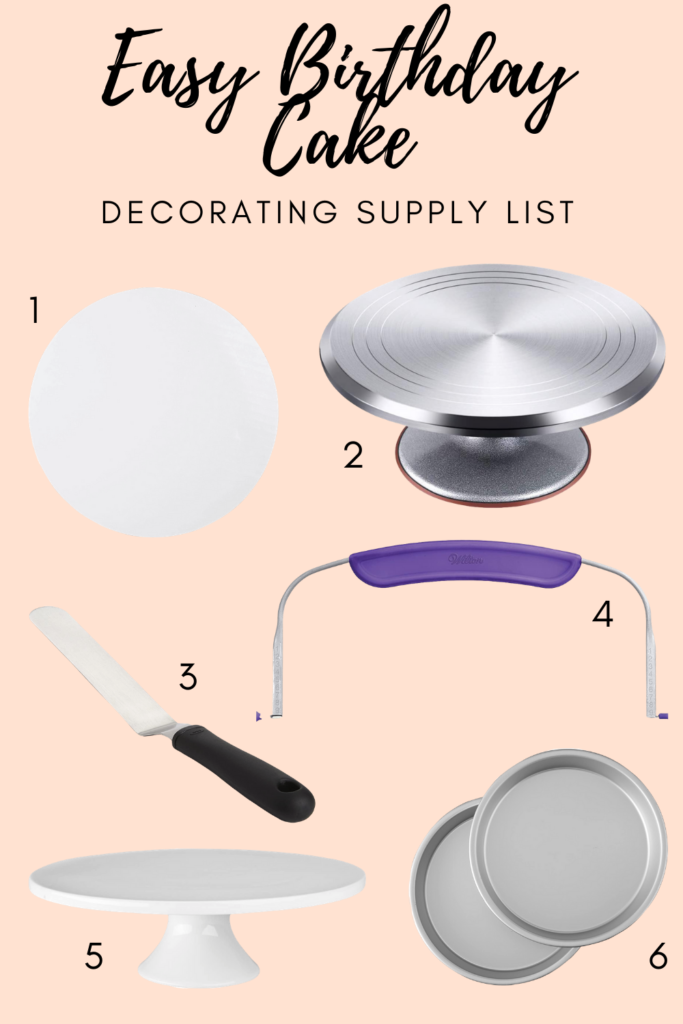
1// I love these cake cardboard rounds– they make it so you can dab a little bit of frosting on the round and stick your cake to it so it doesn’t slip or go anywhere. It also gives you that professional look I think and makes for an easy birthday cake.
2// You are going to need a cake spin table! Trust me- makes it so you can make a simple birthday cake that looks good!
3// I use this spatula for everything but especially cakes! It makes it sooo easy to spread frosting. I love it and have 3 of them!
4// A cake leveler. If you get anything- get this! When you get your cakes out of the oven they are going to be really rounded or sunk. It is going to happen and you cannot stack them like that and have it look good. So using this cake saw makes it so all your levels are even and then you can stack away!
5// A good cake stand! I love mine since it is white and works for every holiday, party etc. I use it all the time. I linked one that is similar and has great reviews!
6// I love these 9 inch cake pans! But you can do whatever size you want. But these pans are great and make a big difference.
7// Cheap toy dump truck. I was going to also use a crane I had and some other toy trucks to be digging in the cake but I decided that I liked simple best. This set is so cute and full of so many things that would be cute on a cake. A 13 piece set for such a good deal! I love that it doubles as a toy/birthday present after.
8// There is an awesome set on Amazon for a great deal that includes most of this stuff. So you don’t have some of it already this is for sure what I would buy- such a great value!
Now let’s get to get to it! A easy birthday cake and sharing step by step truck cake instructions!
So I made a chocolate cake because who doesn’t love chocolate? And I wanted to be able to make it have “dirt” on the cake. If you are wondering how do you make dirt for a construction cake- I got you!
Bake your cake and get chocolate frosting or make some! I will share a secret that made this an easy birthday cake- I bought the frosting. I just used a can of rich chocolate frosting and I think it is pretty yummy so I save the time there and use more of my time on making the simple birthday cake. I used a full frosting can but bought 2 in case and could have used a little more so I would buy 2 just in case.
After you bake your cake- let the pans cool and then gently tap out the cake. Wrap them in some wrap and put them in the freezer. Something that makes this an easy birthday cake is that you can make the layers ahead of time which makes for an easy birthday cake process.
When you are ready to decorate get the layers out of the freezer. Let them thaw a little and then use your cake saw to even them out. It is too hard to saw through them when they are frozen but if you do it when they are room temperature then they get all crumbly so do it when they are still kind of frozen.
Next step in our step by step truck cake is to put a little frosting down on the round cardboard and then stick your first piece of cake down. Then do a little more frosting and then put on the next cake layer. Then a little more frosting and the last layer. I did 3 layers and put them in 9 inch pans- but you can really do whatever you want here.
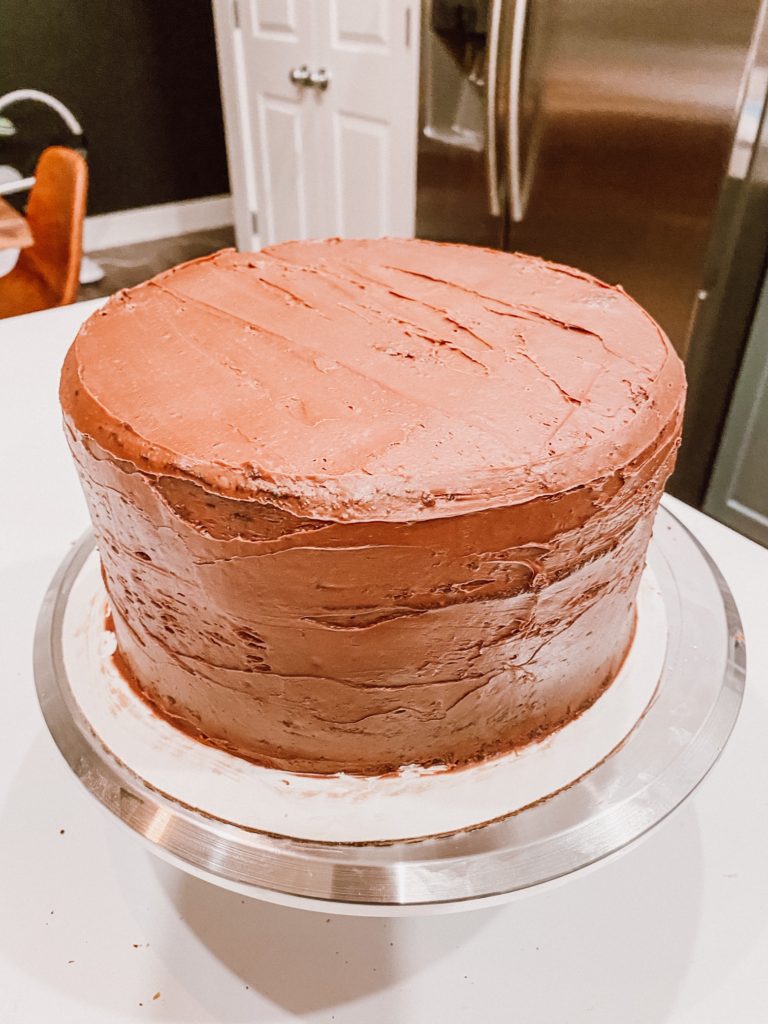
After the cake is stacked, use room temperature frosting and drop a big dollop on the top of the cake with the spatula. I promise that this tool makes such a difference. Then spread it across the top kind of making a Z motion. Then once the top looks okay- drop frosting on the top side with the spatula and a dollop again. From here you will want to start spinning the cake spinner. Keep adding more frosting to the sides where you need it and keep spreading with the spatula all over. Then start gradually going down the cake making another layer.
Good news is if you think it looks bad you can always scrape it off and start over or you can layer more frosting on top!
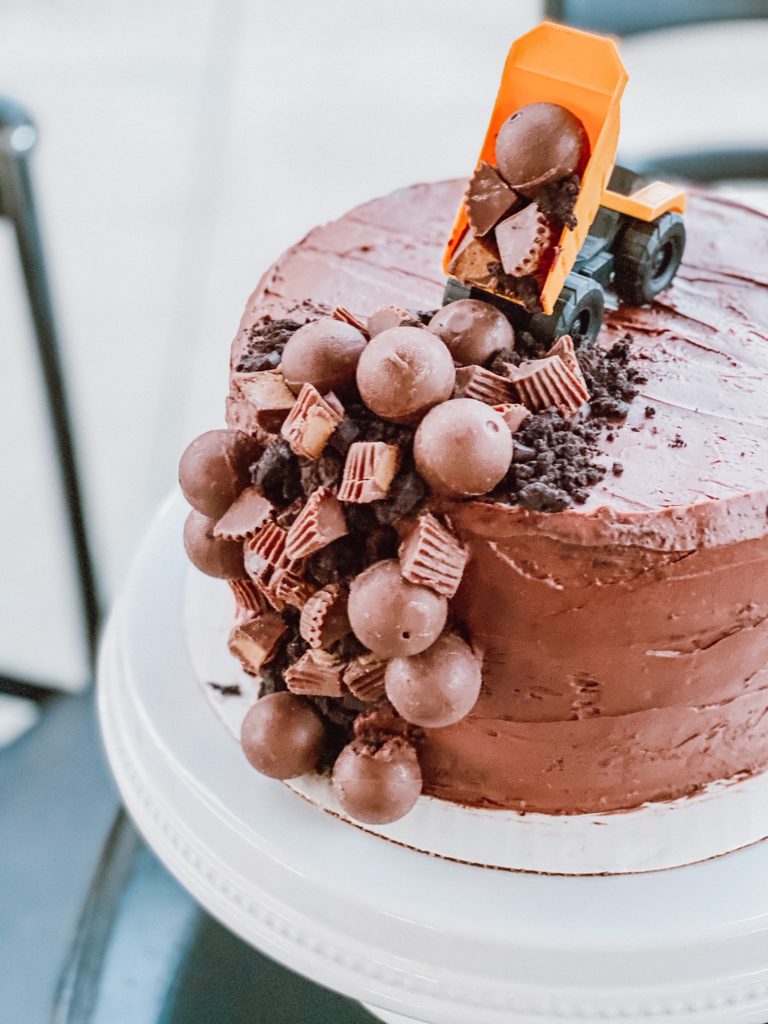
Then I got my top dump truck and stuck it right in the middle of the cake. I left the bed of the truck down and got some frosting and filled the bed of the truck.
Next step in the step by step truck cake process is figuring out how you make dirt for a construction cake. You can use normal Oreo’s but you are going to need to scrape out the frosting- it doesn’t look good when white shows. So I found these chocolate filled Oreo’s that were SO good. I put them in a ziploc bag and used a wooden rolling pin to crush them. I used frosting to fill the back of the dump truck with the crushed Oreo’s.
For the rest of the cake I used my spatula with a little bit of frosting and just frosted down candy until I thought it looked good. I got the Reese’s that come wrapped in foil that are kinda drum shaped and cut those into quarters. I was going to use Whoppers for the round “rocks” but couldn’t find them so instead I just used a round wrapped chocolate ball. Whoppers would have looked better so I should have kept searching. Or I think it would look really good to mix the two sizes to make a fun but simple birthday cake!
I just made it look like the candy was dumping out. Then when I was ready for the party I dumped the back of the truck open to look like it was spilling out. And there you go! A simple birthday cake and truck cake your little one is sure to love! I hope you enjoyed this step by step truck cake instructions!
