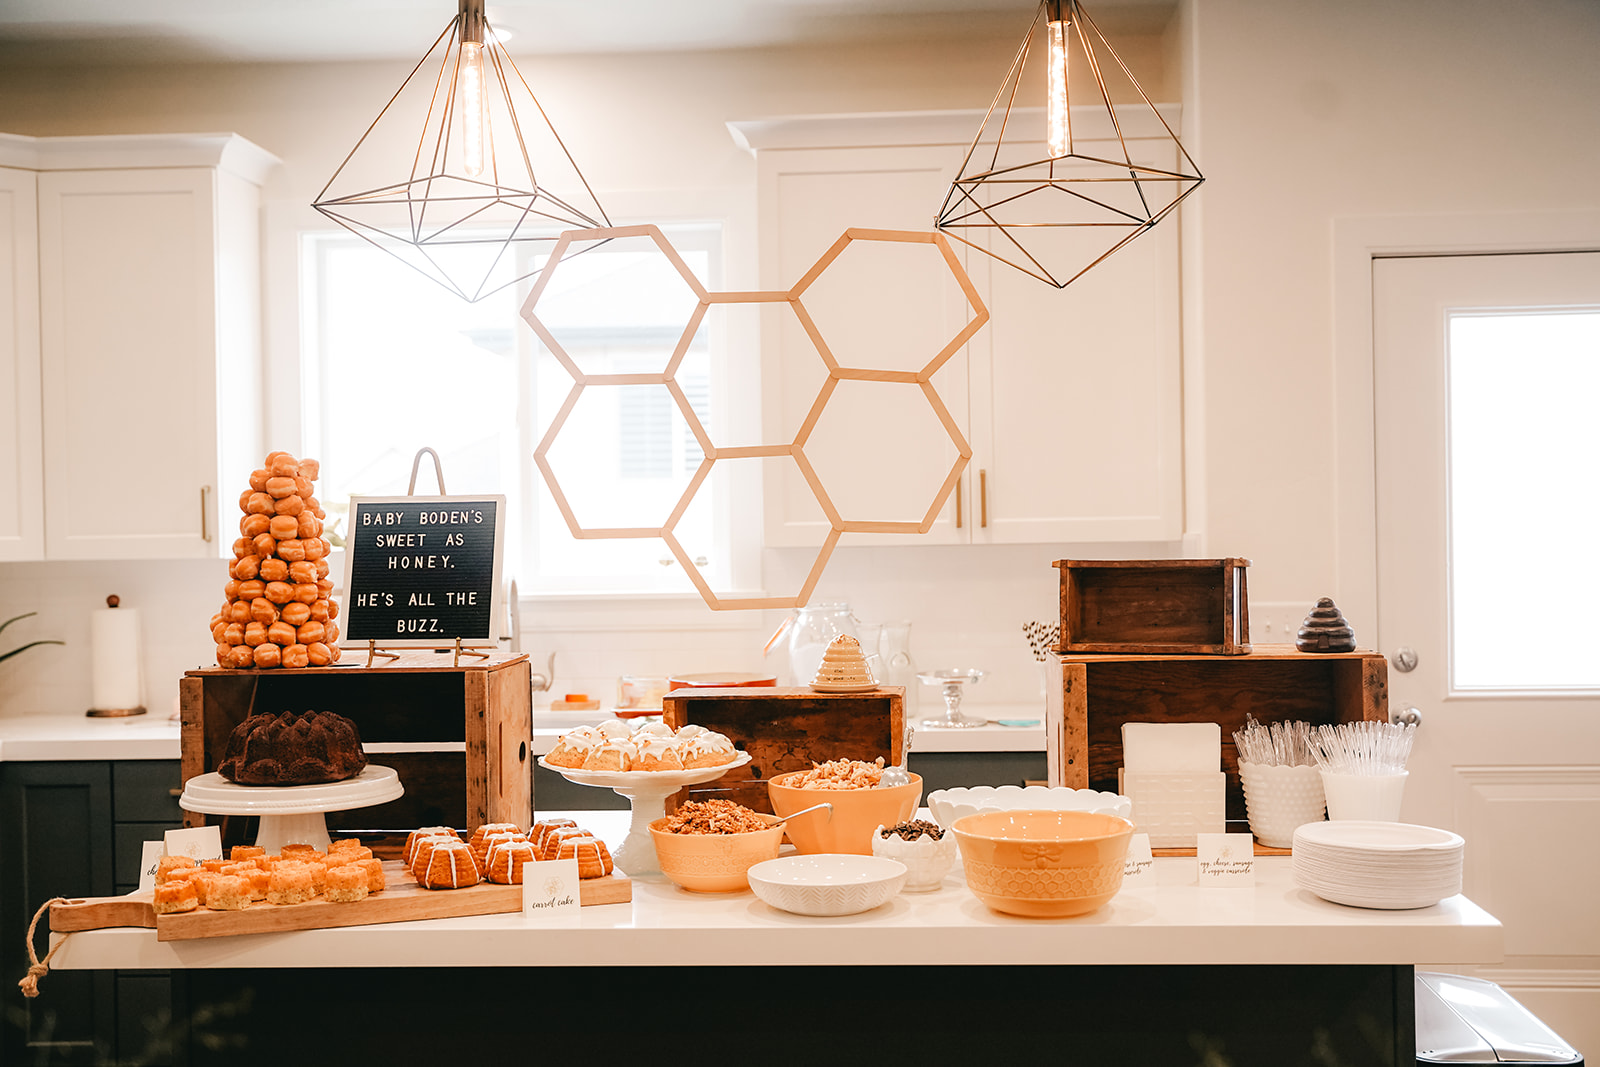
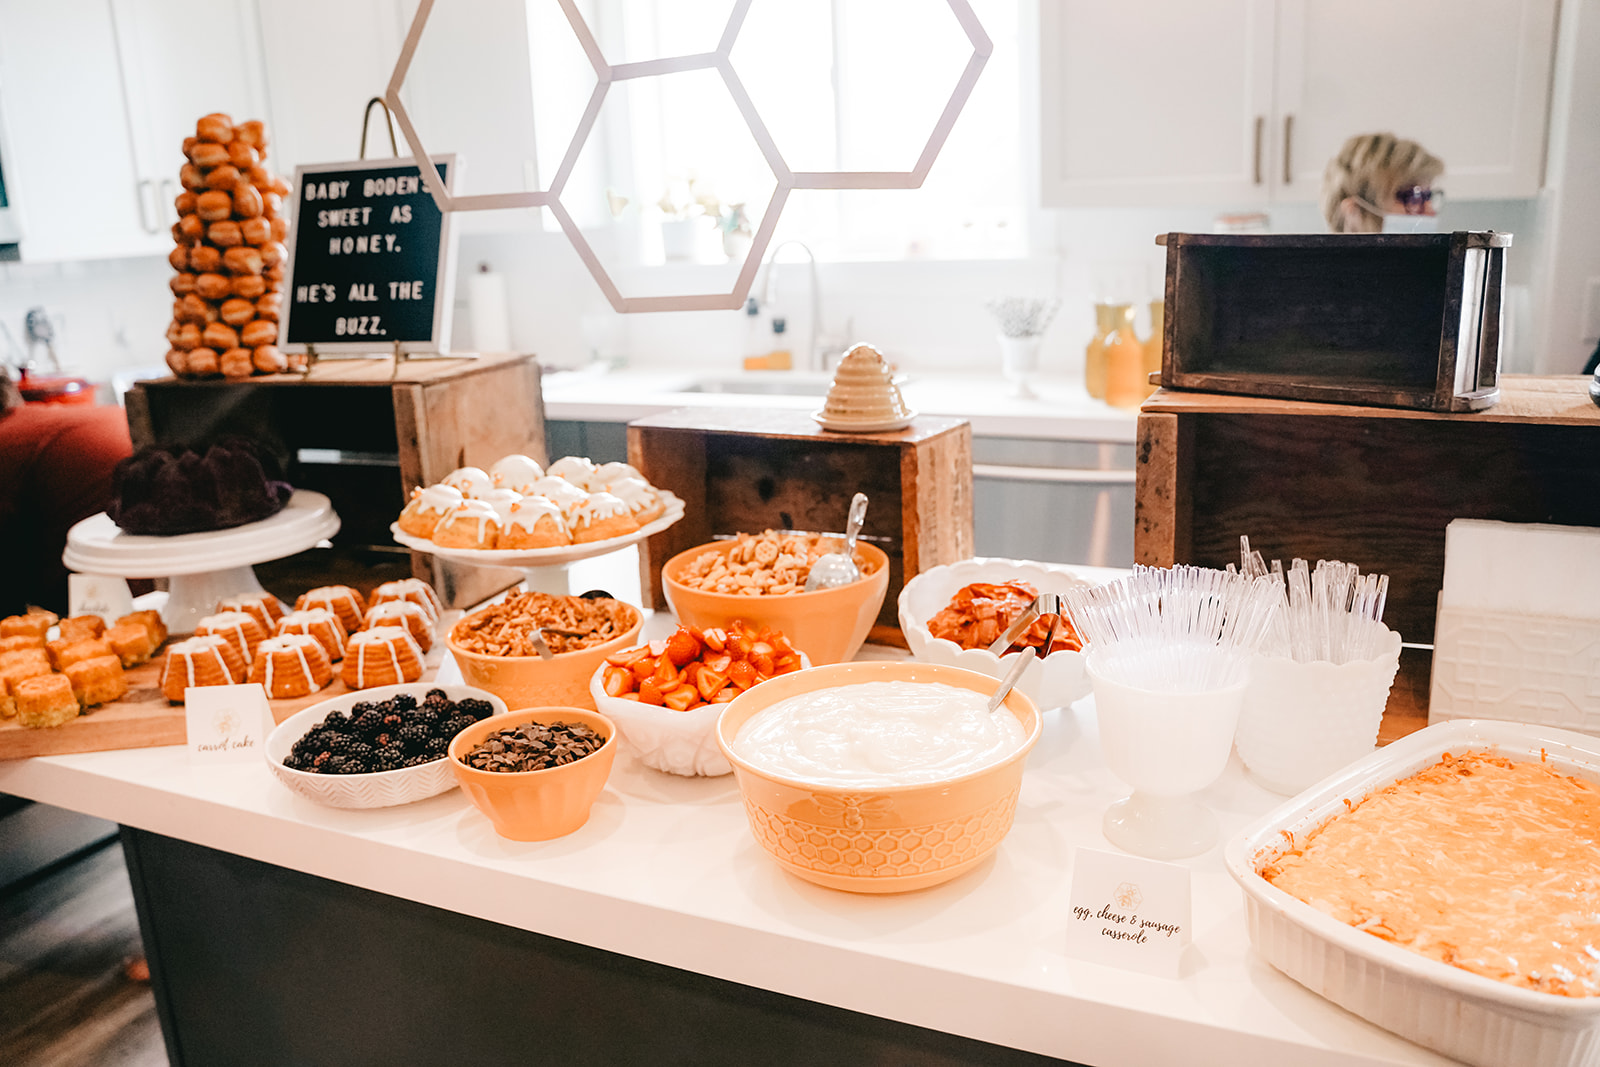
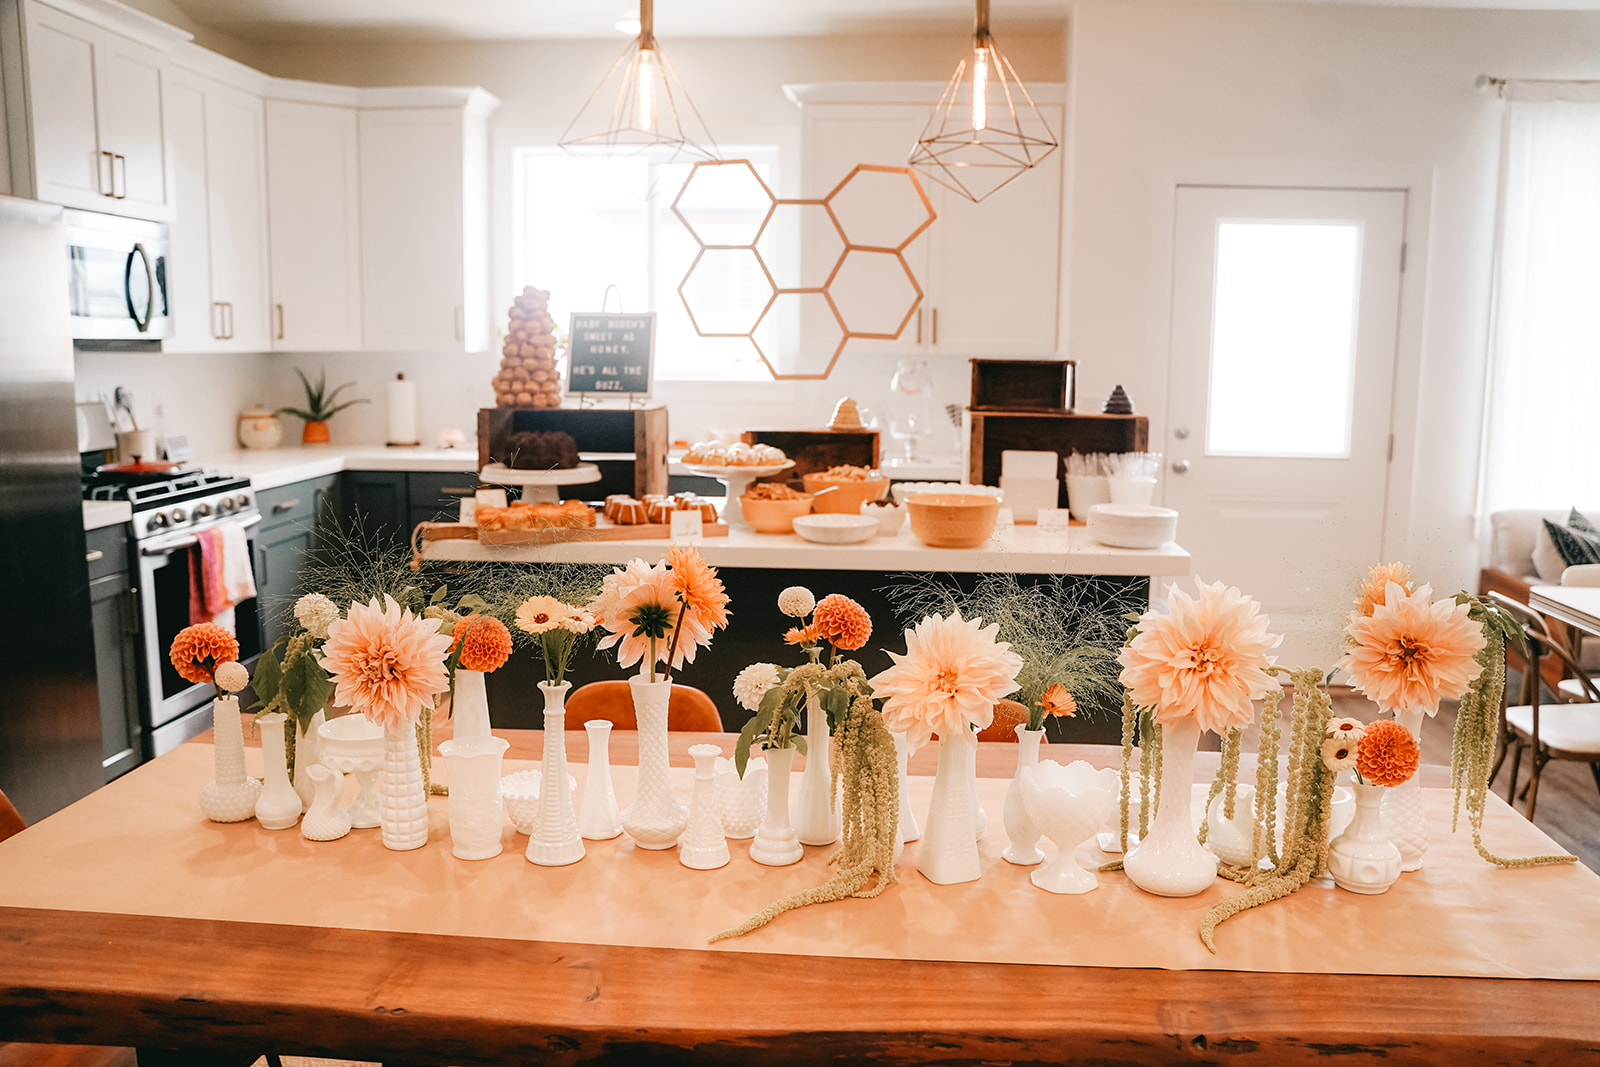
I just threw a bee themed party for my son’s blessing. It was so cute if I do say so myself! If you want to read the full party post then check it out here! One of my favorite parts was this DIY hexagon backdrop that I made.
Let me walk you step by step how I made this DIY hexagon backdrop because it took a little bit to figure out. But overall it was a really fun project!
A reason I like this DIY is because it makes a big impact, is cheap and calls for only a few supplies!
Here is what you will need for this DIY Hexagon Backdrop:
Large Popsicle Sticks or Tongue Depressors can work too
How to Make the DIY Hexagon Backdrop
Step 1-
Plug in your glue gun and let it heat up. Make sure that you are gluing on a surface that can handle the heat. And somewhere that has something over it or is tile or something where you can pick the glue off if any falls.
Step 2-
Lay out sticks and arrange some different options. You for sure want to lay out before you start gluing. It can be kind of hard to get them all somewhat straight.
I ended up making it bigger than realizing it was too long for the space. So in my finished DIY hexagon backdrop it was only 6 hexagons total. But if you have more room or it is going against a wall- it would be really cool to do like 12 and make it really big!
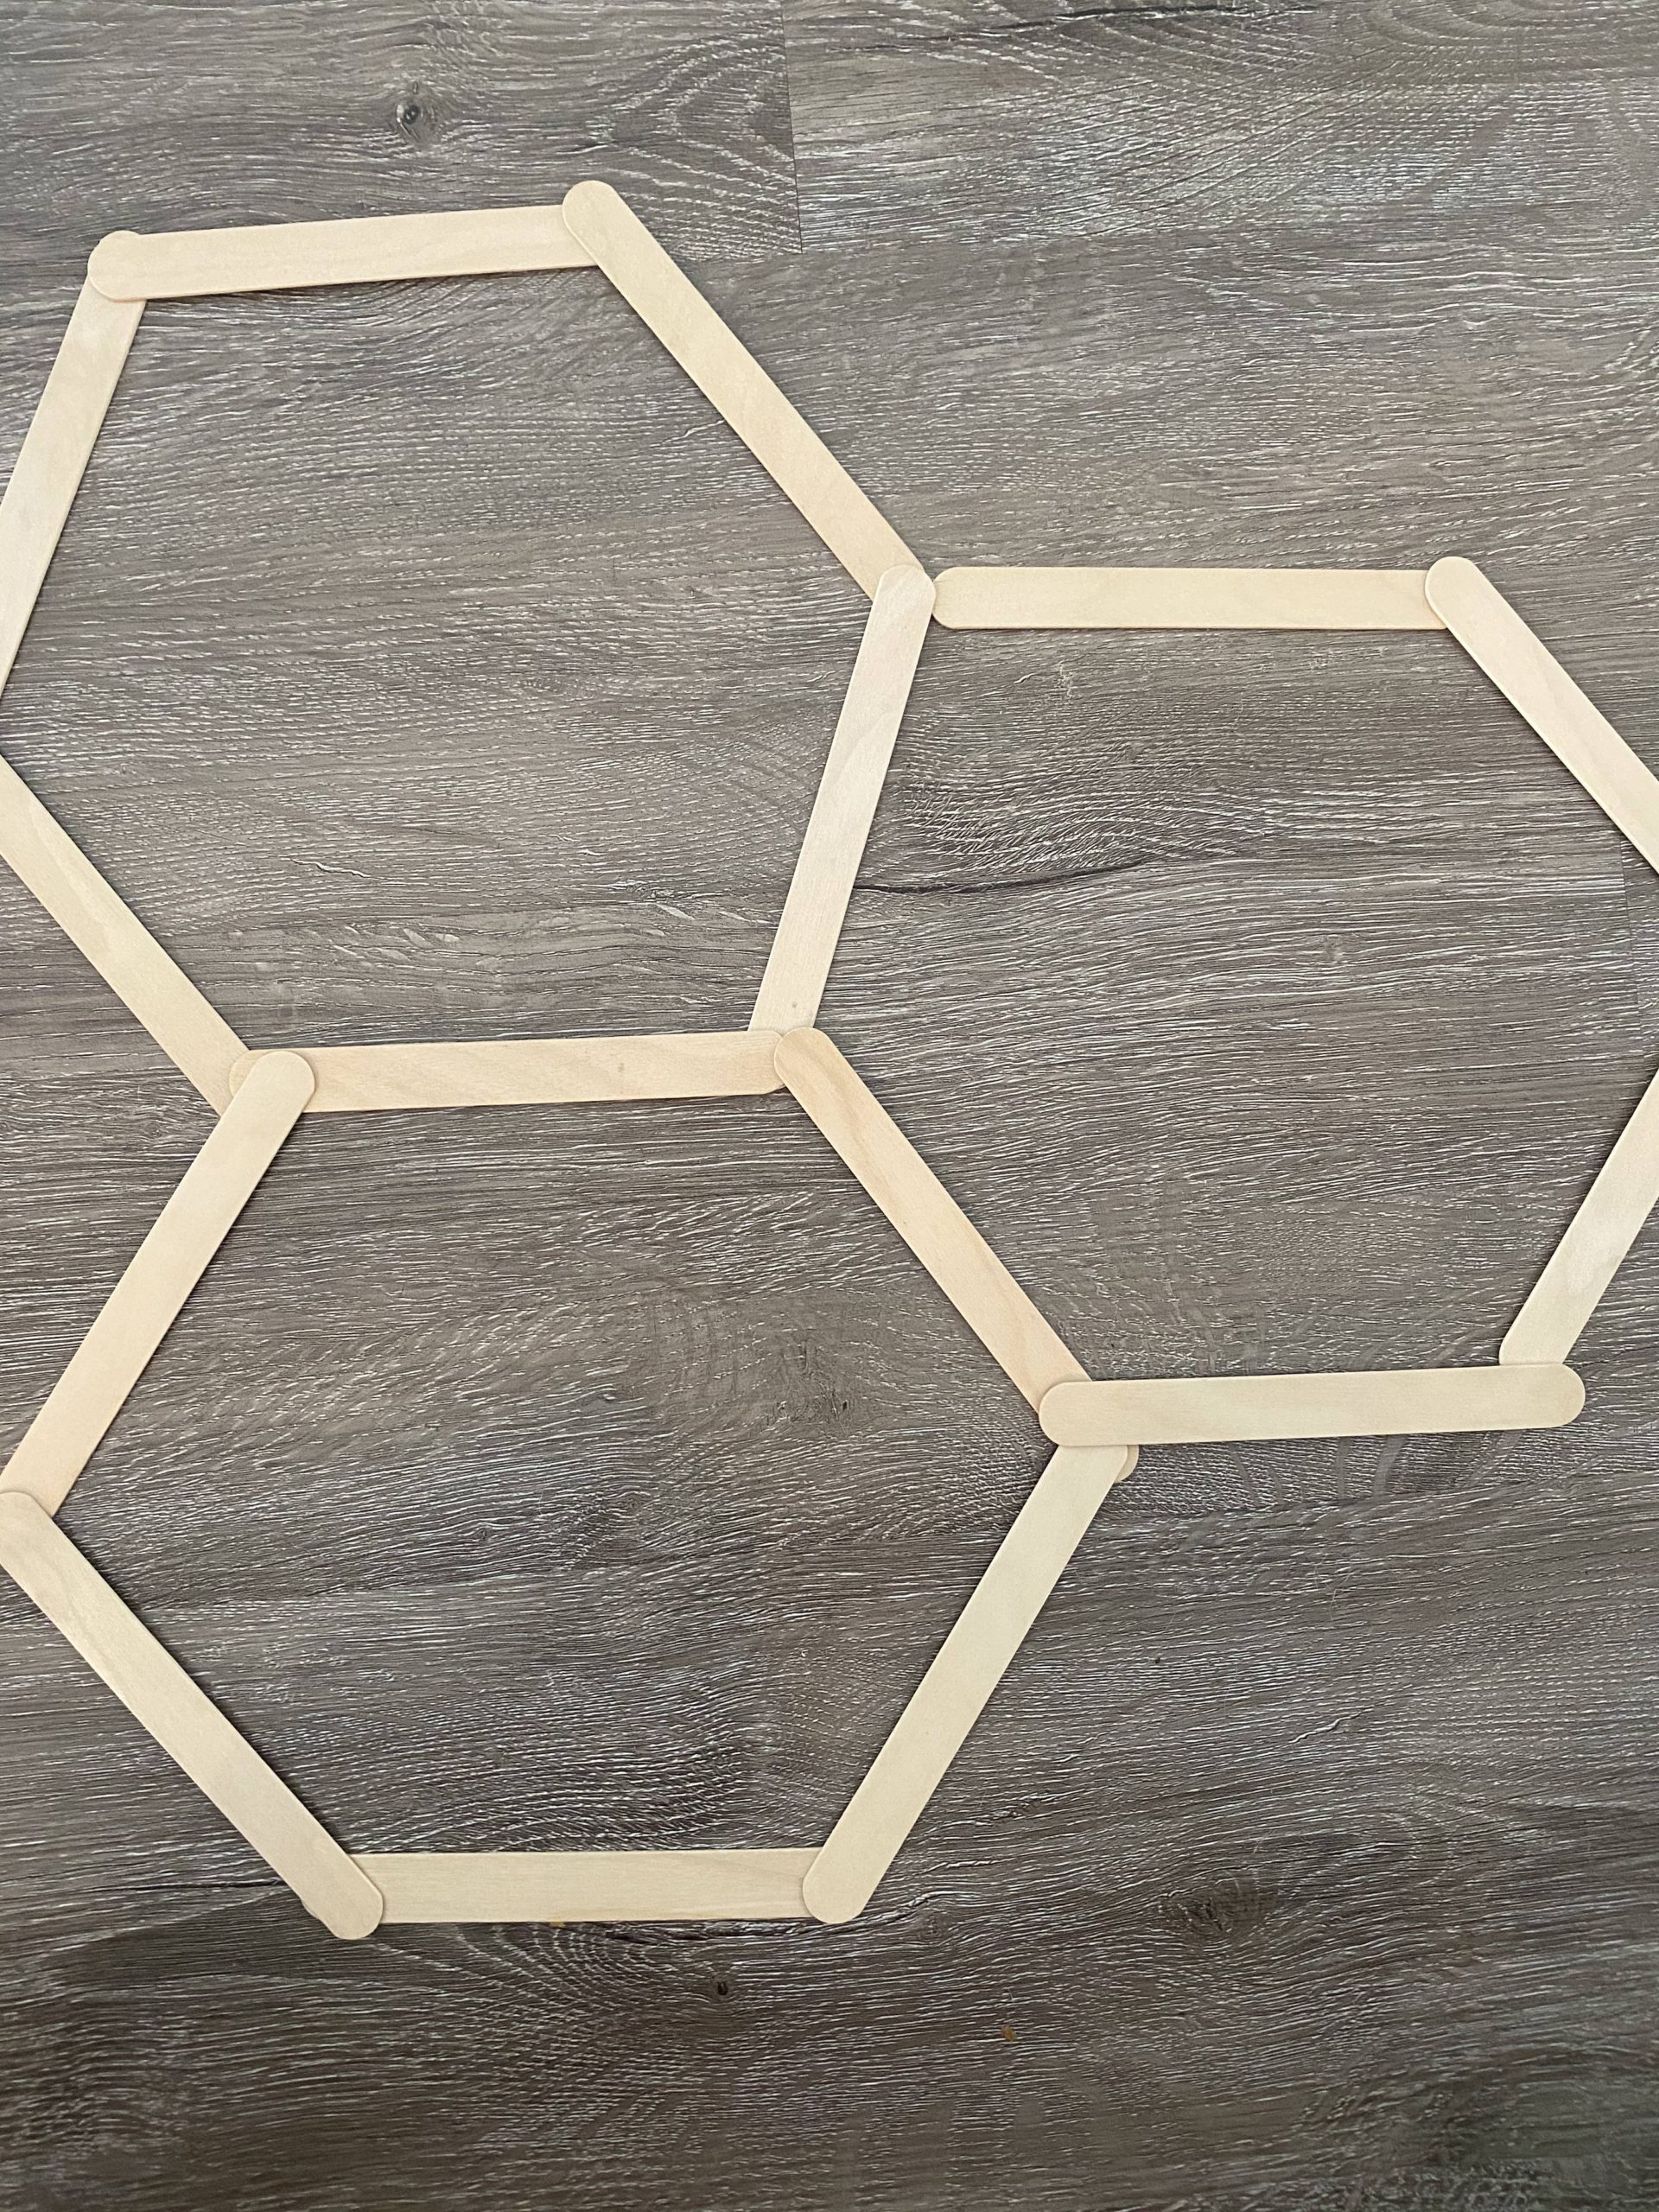
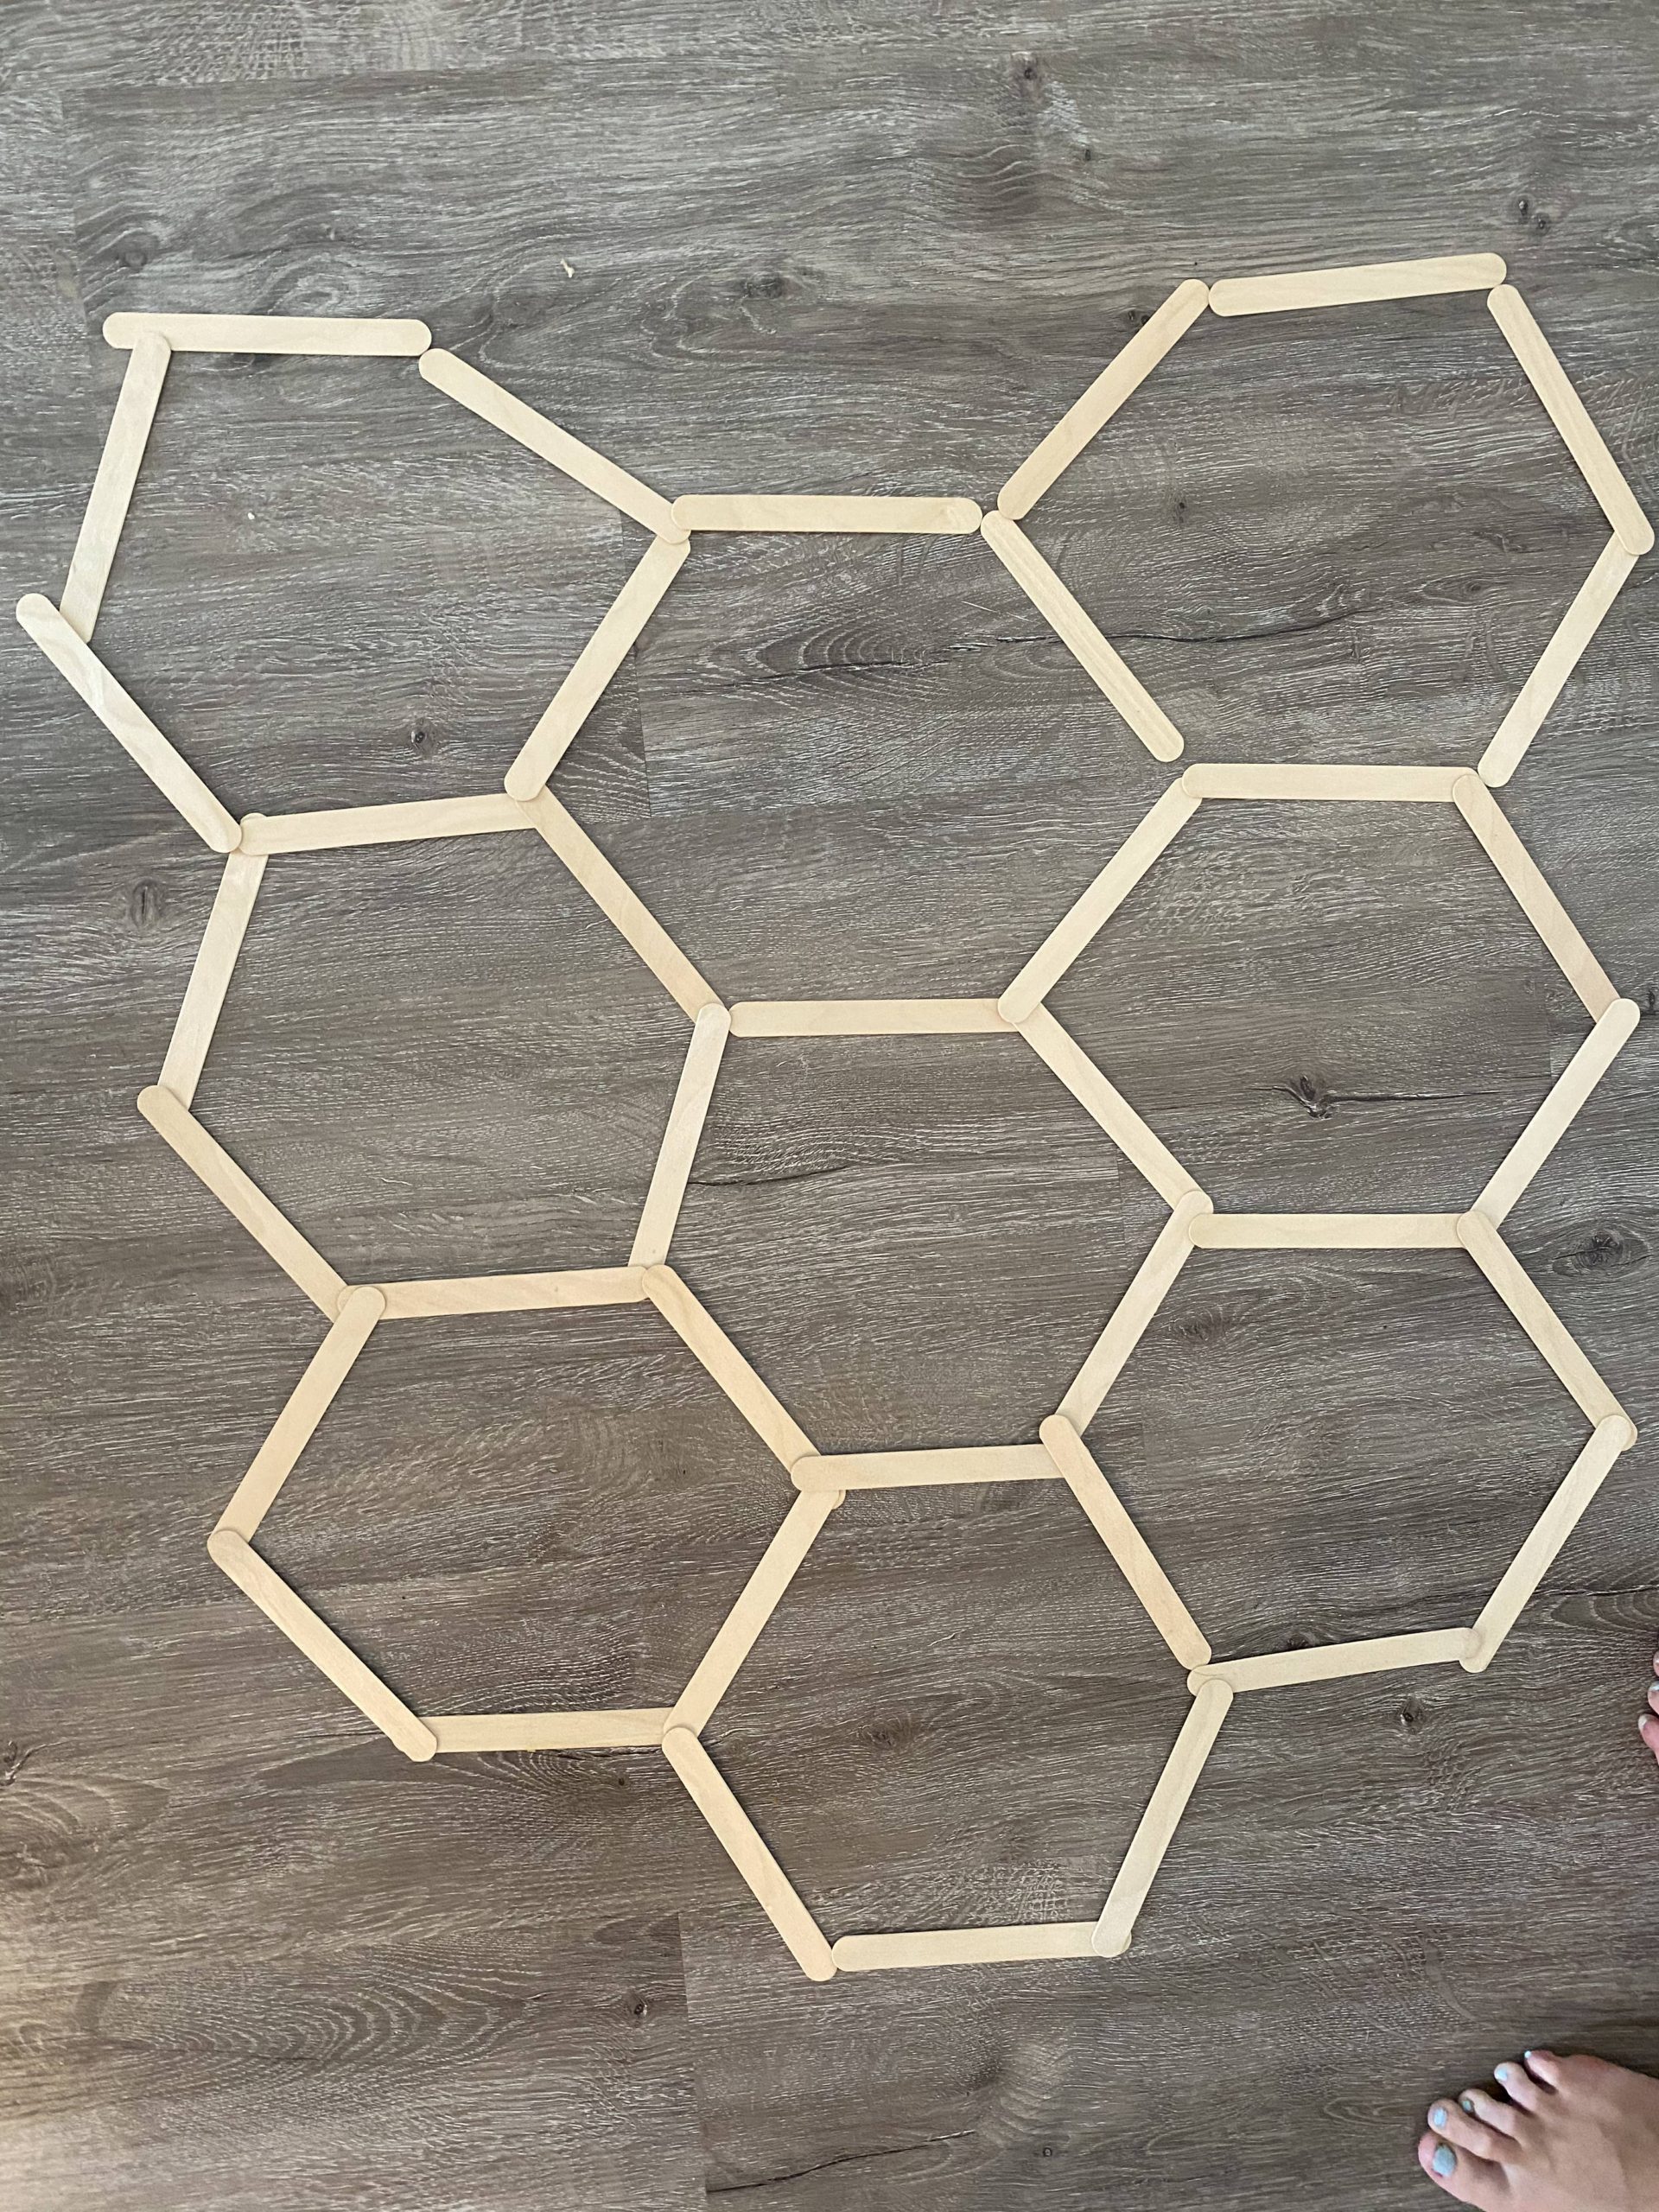
Step 3-
Start gluing the sticks down. When you get to where a hexagon meets another hexagon be sure to glue behind. It looks a lot better that way!
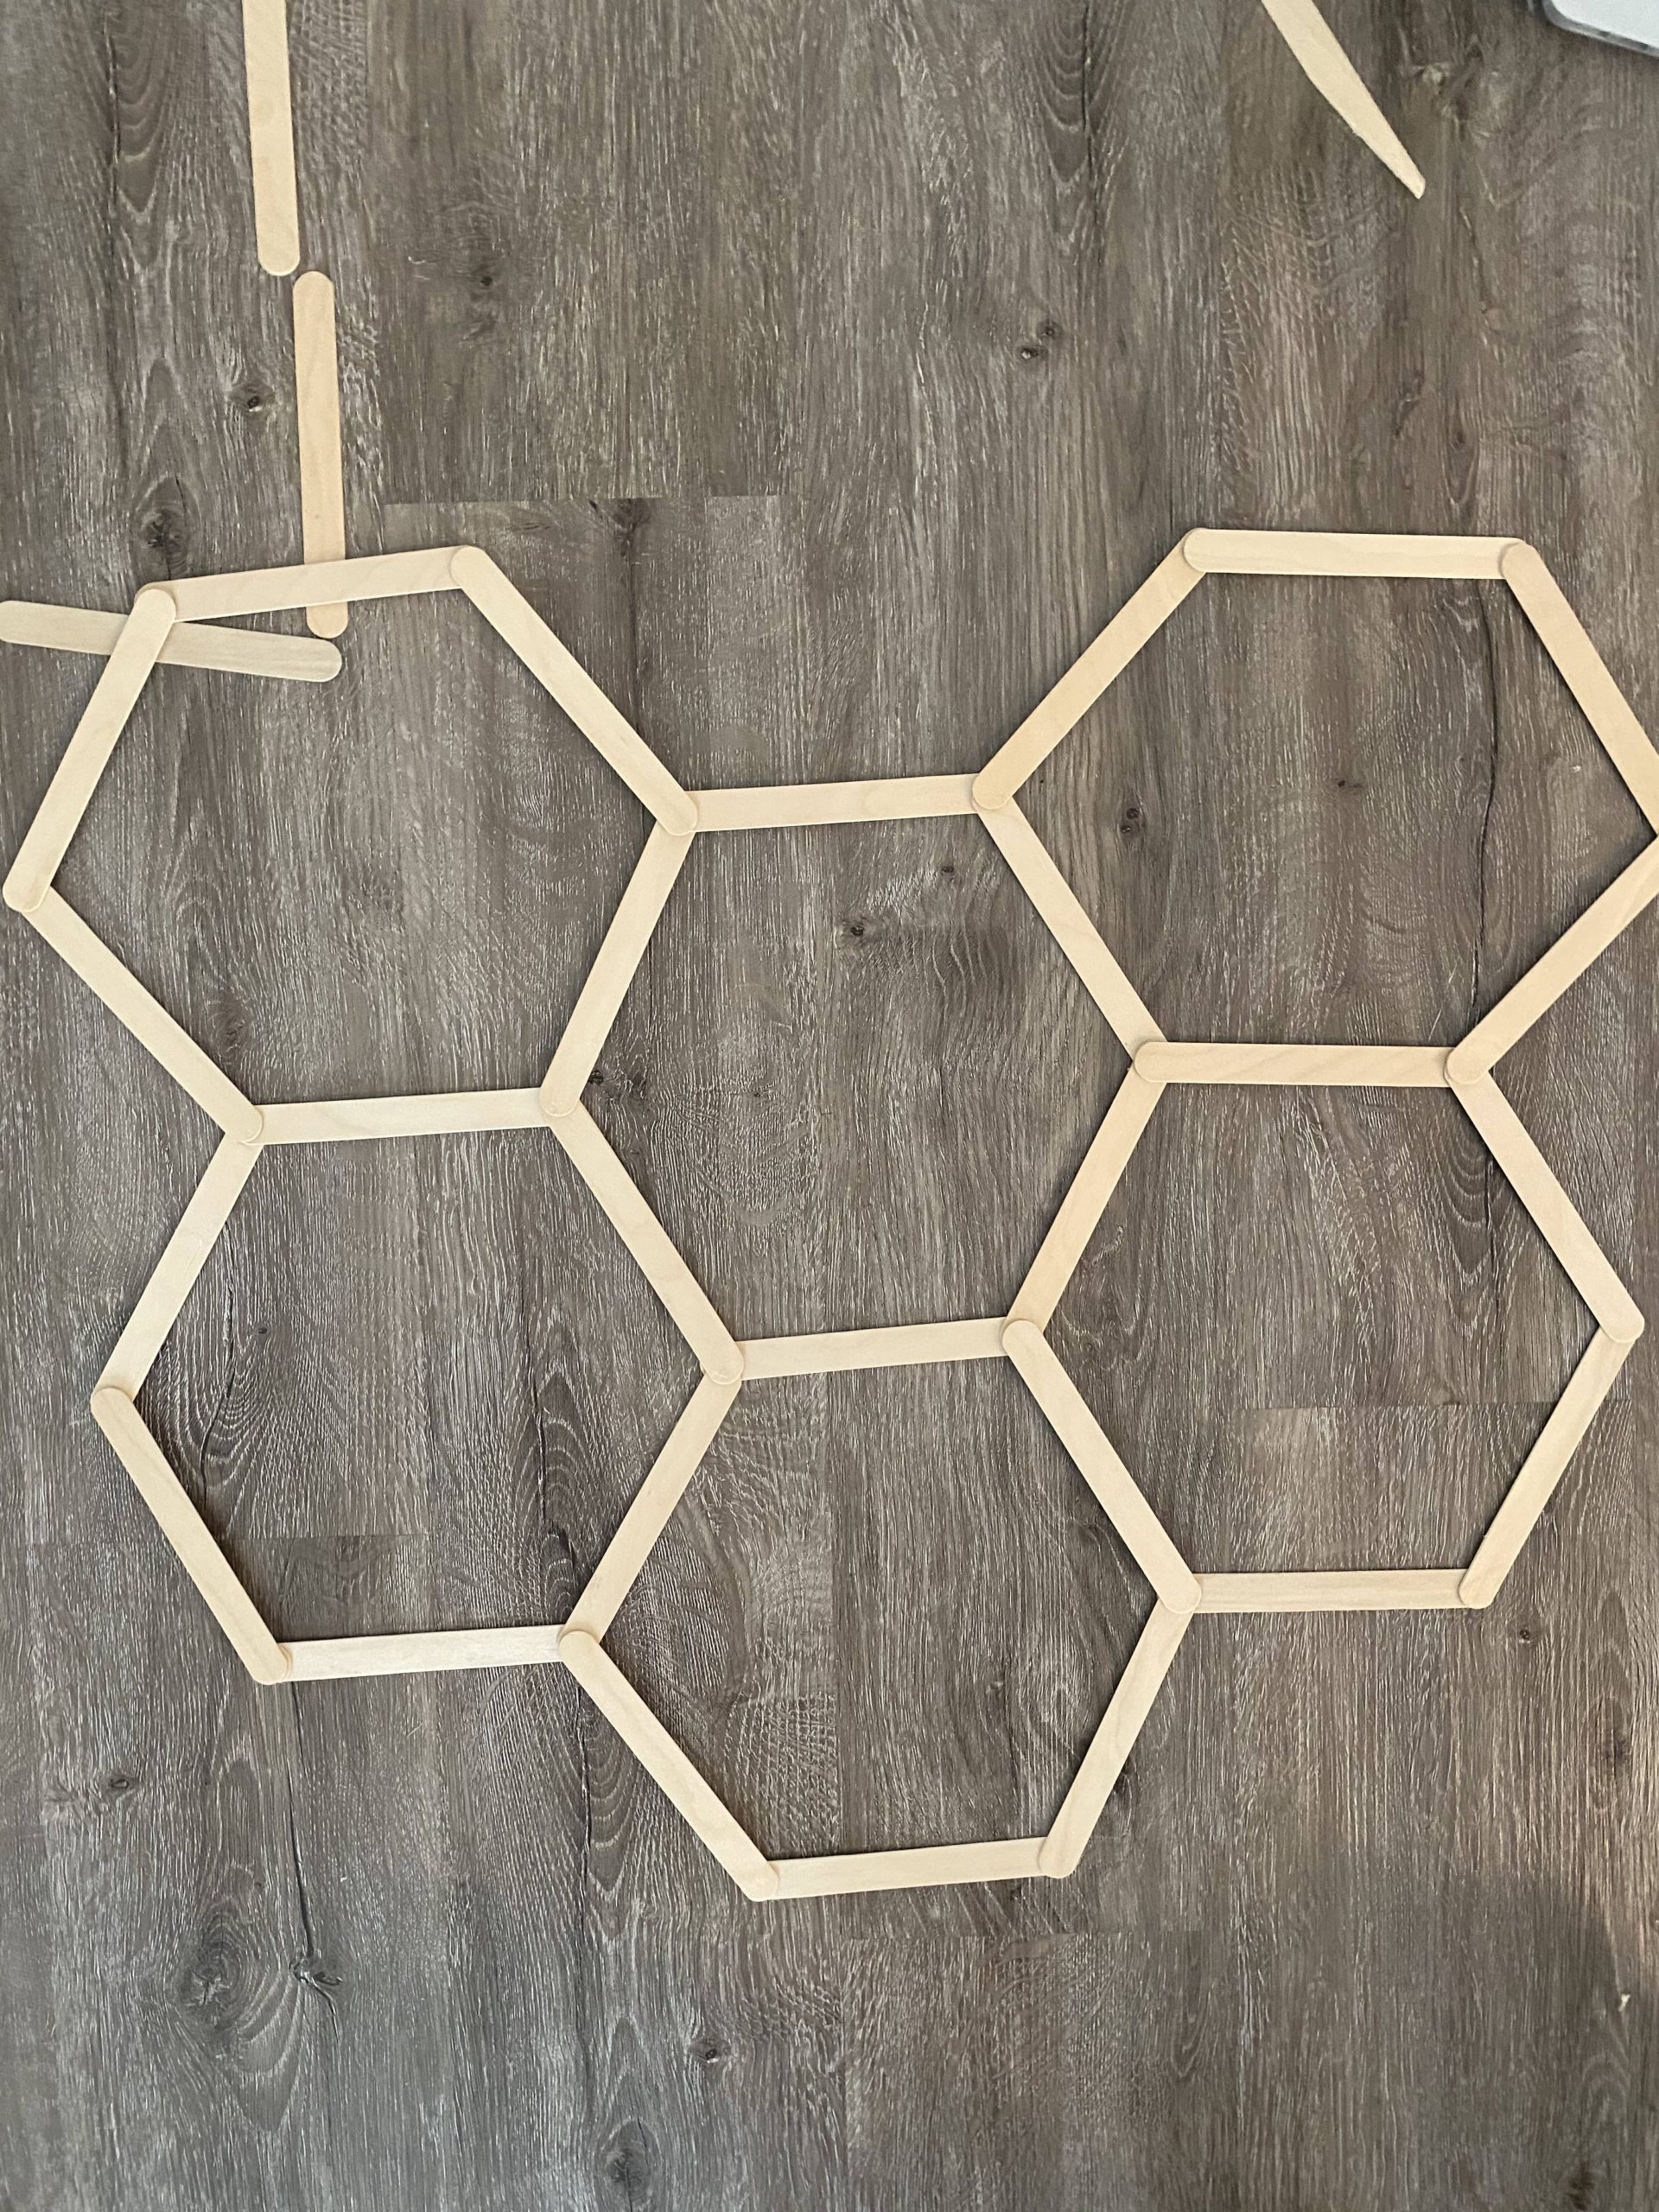
Step 4-
After it has dried- pick off all the little extra strings of hot glue. Then tie with tie or use command strips to hang against a wall. It would be cute flat against a wall! But where I had the space to hang it- I think it really makes a statement since it is see through.
I hope you enjoyed this quick little DIY hexagon backdrop! It will elevate your party! If you liked this post you might like my other party posts!

